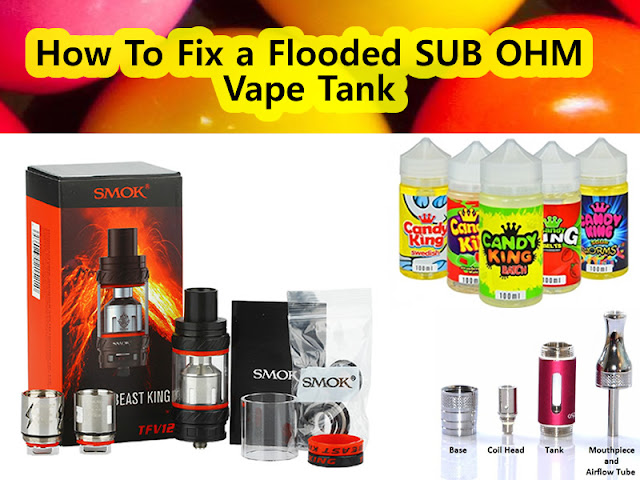
Nobody wants to have a flooded sub ohm vape tank. If you are wondering what this is, it is basically a vape tank that is gurgling or spitting out ejuice from the bottom holes. This can cause an inconvenient mess all over your vape mod, on your hands and eliquid can sometimes get into your mouth. This is the last thing you want when vaping without having a tissue handy. You will not get a proper vape that you would normally expect from your vape tank, due to the flood occurred inside the chamber. Until it gets cleared up, the performance will always be restricted. If you still have problems with your sub ohm tank, you can get a replacement from www.friskedrag.no for a cheap price.
To get you understanding things in more detail,
let me easily explain the common cause to having a flooded sub ohm vape tank.
Overfilling the vape tank or even a messy fill up can cause eliquid to get
stuck inside the chamber. The eliquid is meant to be stored inside the glass
section and get soaked into the side of the coils. If it gets into the chamber
(the middle tube part) it will cause the ejuice to get into the mechanical
parts that construct the vape tank. Another common cause can be either a
damaged or loose O Ring. This is the circular shaped rubber thing that is found
at the top and bottom of the tank. When the take is put together, the O Ring
provides you will a compressed sealed. As you can expect, if it’s not secure,
ejuice will leak into parts of the tank that it should not get into. It’s
something that is often missed.
Now that you are aware what causes a flooded subohm vape tank, at least you now know for next time so that you avoid making the
same mistake again. A flooded sub ohm tank is not permanently damaged, all you
need to do is perform some quick maintenance and you are good to go again. You
will need to clear the flooded vape tank.
1) Unscrew the vape tank from your mod.
2) Once you have done that, take apart the glass
tank and unscrew the coil.
3) Rinse the glass under water and the top part
chamber piece. While you are at it, pull of the mouthpiece and give it a good
wash, as there might be old remain of ejuice trapped inside it.
4) Now that you have cleaned the tank. Remove the
coil from the base. Wash the bottom part of the base also with cold water.
Remember not to clean the coil, as this can damage it.
5) Dry all the metal parts dry with a towel.
Ensure that all the 0 Rings are sitting right. There should be one at the top
and the bottom. If one appears damaged or missing you will need to replace it
to solve the flooded sub ohm tank problem.
6) Once you have washed all the different pieces
that construct the vape tank, put them together and don't forgot to prime your
coil. Make sure the coil is screwed in tight and the glass also.
7) Fill up the tank to the highest level but
remember don't go beyond. If you are unsure of when to stop filling your vape
tank, leave a small gap from the top of the glass just in case. The last thing
you want to do is flood the vape tank again after cleaning it.


0 comments:
Post a Comment