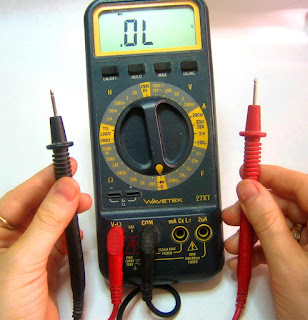
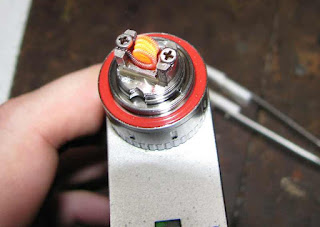
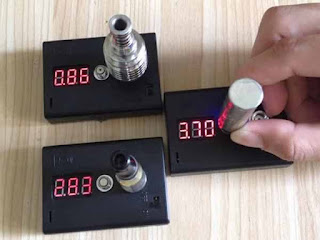
Its ideal that when building new coils of your choice out of wire for your RDA vape tank, that you check the ohms resistance. This is a very important factor in vaping and is used to work out how many watts the coil can take without getting damaged. Also checking the ohms on your coil will also help towards matching it with the correct type of battery that can supply a sufficient amount of amps. Since using a really low ohm coil on a low amp battery could possibly cause your ecig to blow up in your pocket. If you don't build coils that much, then its ideal to use a regular digital multimeter to check the ohms of the vape coil. If you like to experiment with different coils everyday, then i suggest that you purchase a standalone unit that is designed to test ohms of coils. It works by simply twisting the coil onto the ohms tester and the screen will display what ohms your coil is. If you don't have that fancy tech equipment at home, you can check the ohms of your ecig coil using a old school DMM.
The ohm resistance in the ecig coil can be increased or decreased depending on the number of wraps you are doing over a drill bit. Less resistance means more power being pulled out of the battery, thick clouds with a warm vape and high means more flavour with a cooler vape. What you want is your choice.
1) Switch the mode to read in 'Ohms' by changing the adjustable button in the middle.
2) Connect the two probes into the multimeter.
3) Place the red probe at the bottom pin of the 510 connector and the black probe on the outer edge.
4) The ohm of the ecig vape coil you are using will show on the screen. For example. 0.5, 0.2 0.8 or 1.2 coil.
So thats all there is to testing ecig coils with your digital multimeter to check the ohms. Its good to have a DMM if you don't already have one, they always come in handy for checking and testing stuff and its not just with electronic cigarettes.


0 comments:
Post a Comment