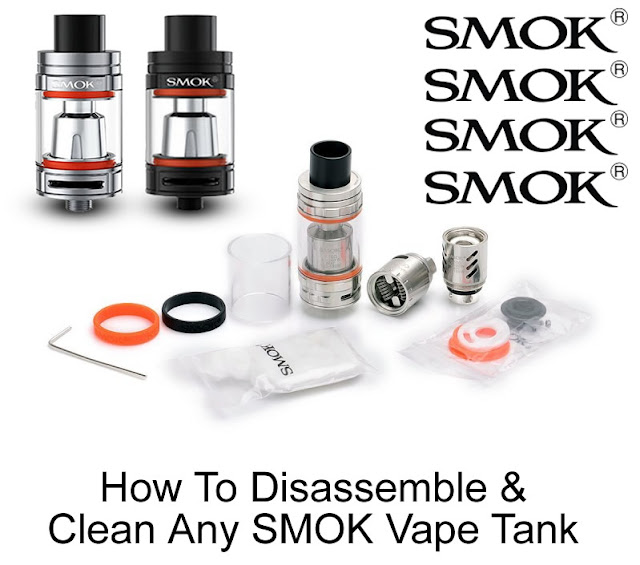
Cleaning the actual
coil will do more harm than good and it is not recommended that you wash it
under the tap. This will wet the cotton and will short out the metal kanthal
wire that is used to make the actual coil. One thing I like about SMOK is there
design and construction of them vape tanks are similar apart from the new pod
systems. So, if you own a SMOK TFV8 or a SMOK TFV12 the disassembly and
cleaning process will be the same. Also, if you can’t see yourself cleaning the
vape tank regularly, then maybe you should invest in multiple tanks, so that
you can one for each specific flavour. It can get costly like this, as you will
need to purchase more tanks and more coils, but you won’t need to clean the
tanks that often. Right then let’s get down to cleaning.
1) Its recommended
that you remove the vape tank from the battery mod. This can be done by
unscrewing the vape tank anticlockwise.
2) Now you will
need to disassemble the SMOK vape tank. Unscrew the glass from the bottom part
of the vape tank by tuning it anticlockwise.
3) Pull the top
part from the glass. Your SMOK vape tank should now be broken down into three
parts, the top including mouthpiece/chimney, the glass and the bottom half that
holds the coil in place.
4) Unscrew the coil
in the bottom head anticlockwise to remove it. Head over to the nearest sink in
your household and place the plug in the sink hole. With the sink half full
with slight warm water.
5) Place all the
metal parts into the water. You can also pull off the plastic mouthpiece from
the top part of the vape tank. Using your hands move the metal parts in the
water. You don't need to use any kind of toothbrush, as you’re not cleaning a
air filter for a car! A quick clean is want you want and remember don't use any
cleaning solvents, this including soap. The last thing you want is to vape on remains
of this stuff into your lungs. Plain old water is what you need.
6) Allow the parts
to sit in the warm water for 2 minutes. This will provide enough time for the
water to get into all the little groves of the different metal parts that make
the SMOK vape tank.
7) Grab each piece
using your hand and carefully place it into a towel. Clean the parts using the
dry side of the towel. Be extra carefully when handling the glass, I have
cracked a few in my time because I was grabbing them too tight.
8) Once you have
dried all the different parts, you can use the same coil or install a brand new
one for the best possible flavour. There is a small possibility that the old
eliquid that you were using at some point may contain some contamination that
is still left in the oil coil. Once you have installed the either the old or
new coil, all you need to do is reassemble them in reversed order how you taken
them off.
That’s all there is to a successful disassemble and clean of
any SMOK vape tank. It’s easy to do and doesn't take long, you could also
quickly wash the parts under cold water and place them back, if you don't have
much times on your hands. You don't need to use vinegar or vodka / alcohol as i
find that its unnecessary for a vape tank. Providing cleaning often will ensure
the best possible hygiene and maximise the full flavour from your e-juice that
you are using.


0 comments:
Post a Comment